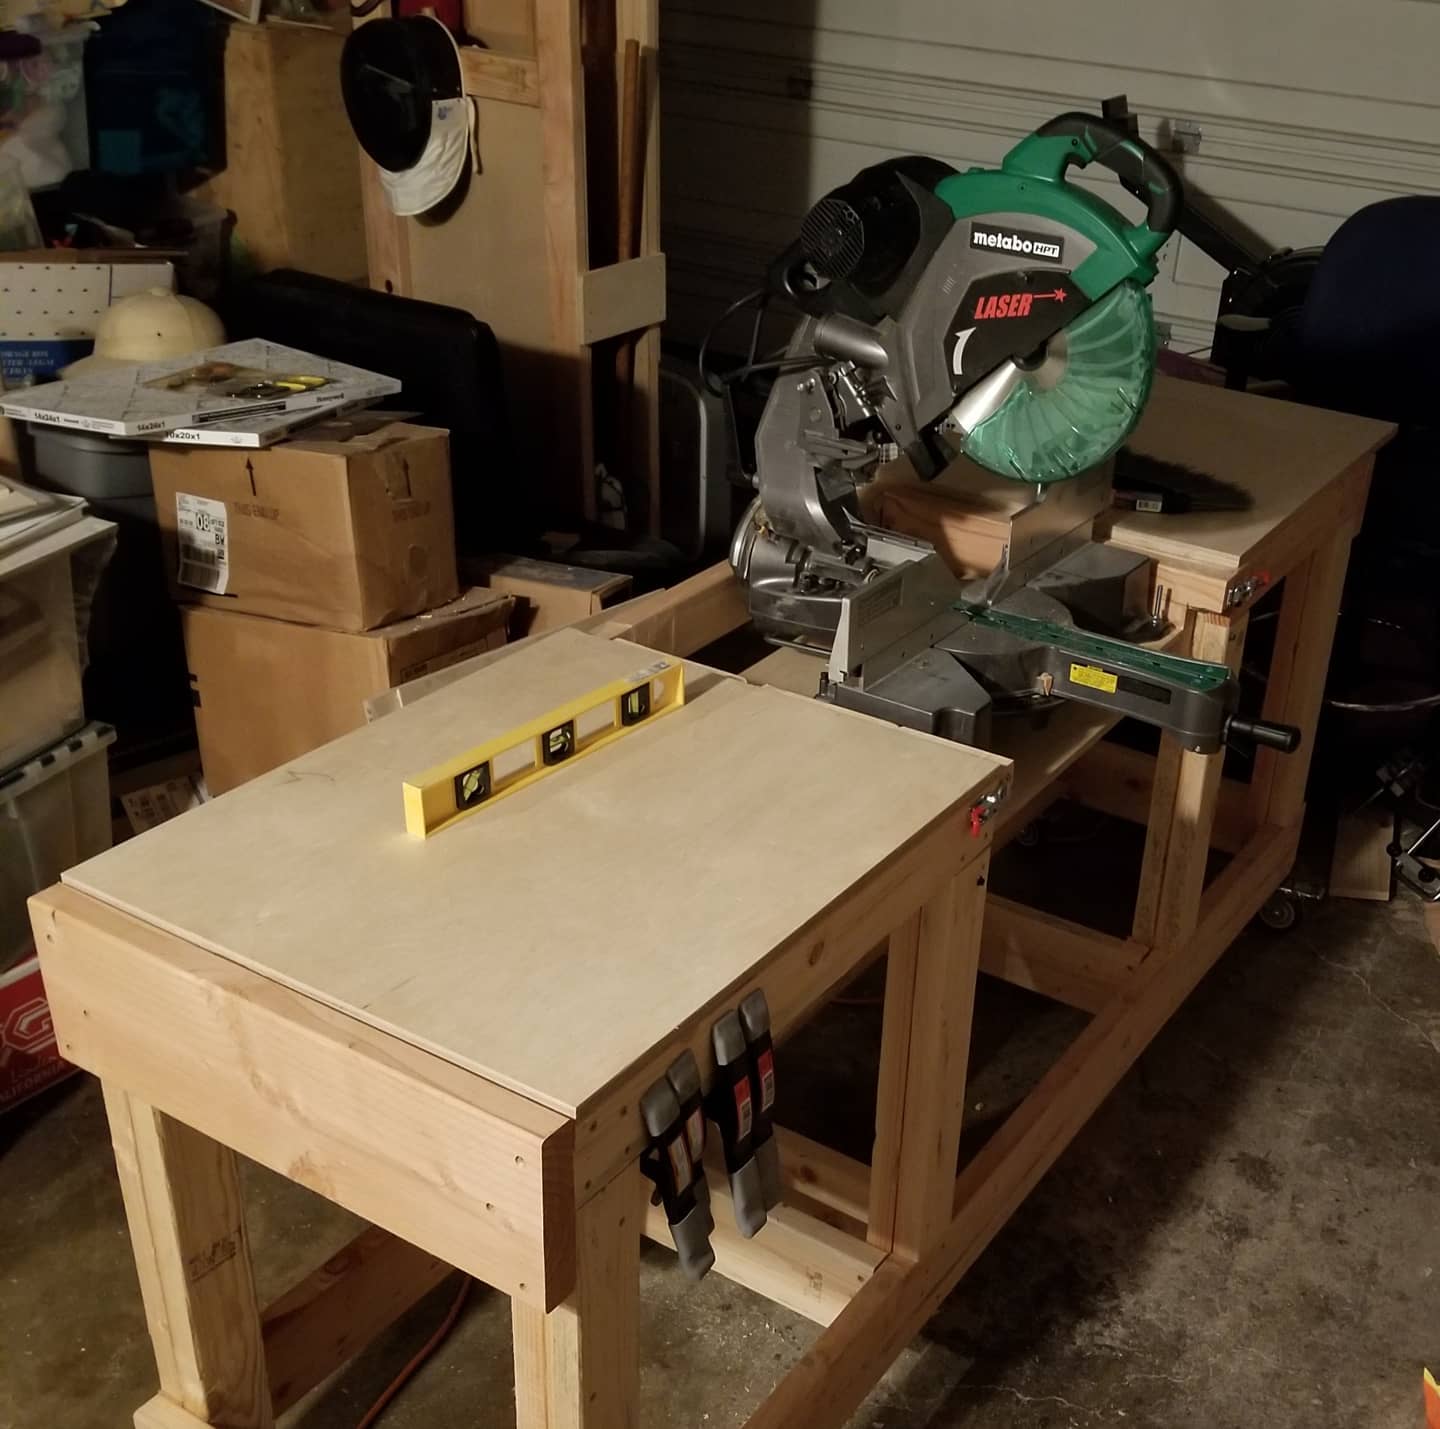
This is where I build a rolling Miter Saw Stand with a flip up/down saw feature so I either have 3 plus feet on either side of the saw for material to rest on while cutting… OR I have a 7X2 work surface.
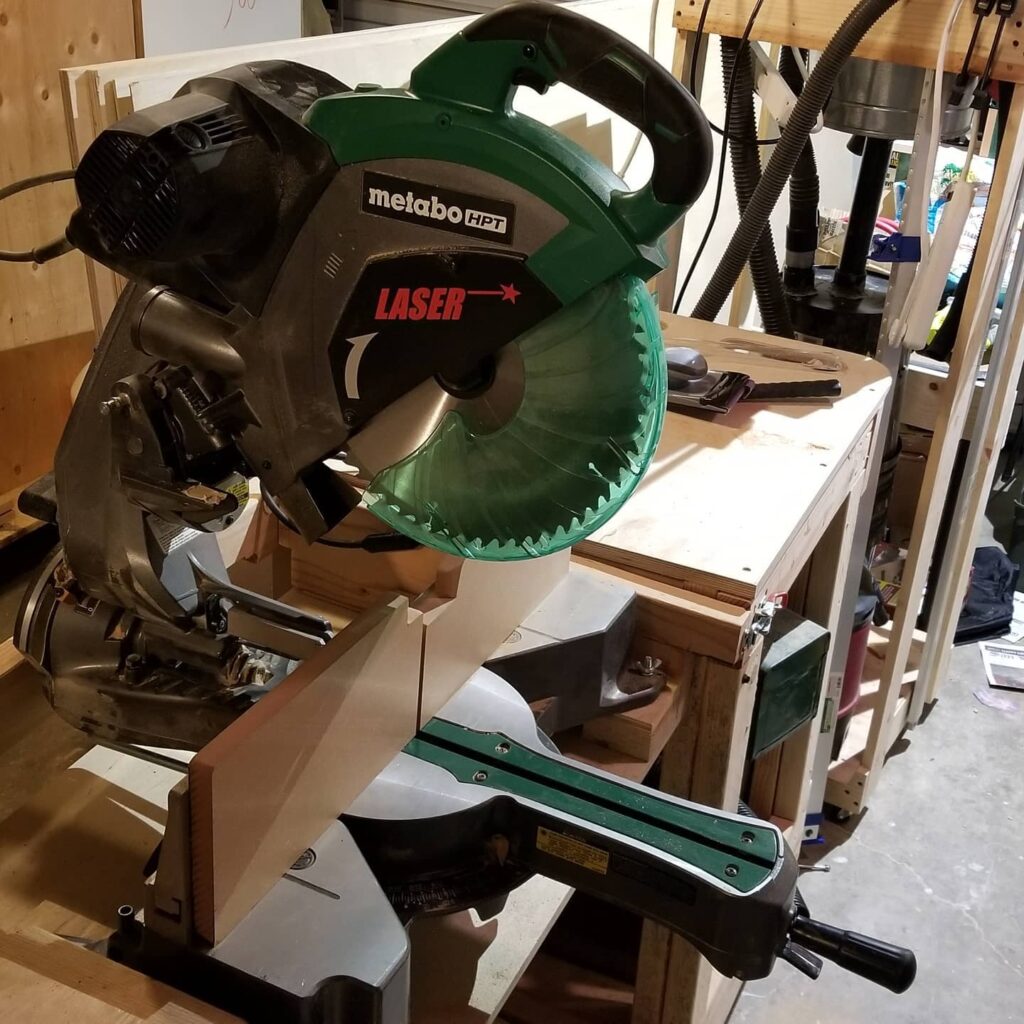
Table of Contents
Background for building a Miter Saw Stand
I have been generally afraid of power tools all my life. My Dad was amazingly unsafe. He removed safety features from his tools and nearly killed himself because of that and completely simple foolish, lack of common sense rule following.
Edwin had an antiquated unkept Radial Arm Saw, and a Circular Saw that needed serious replacing that he removed the blade guard from. (He also kept it on a head high shelf and kept it plugged in for “ease of use/ready access”.)
My mother’s father, on the other hand, kept his tools all clean and sharp and safely organized. He had saws and lathes and chisels. I wish he had been around when I was just getting old enough to be left alone with him. As much as his daughter tried to pass on a fear of everything, especially electricity… I still got “the bug” to use tools and make things.
I started getting deeper into making things with lumber and plywood for fun and making life easier and better. A friend from a different hobby agreed to let me try to use his Dewalt chop saw because I wanted to practice, and it spurred me on to get a Metabo Compound Sliding Miter Saw. Thanks Joel! It made all the difference to be able to borrow the tool I needed to see what made me happy.
The Metabo can usually be had these days for 350-400 bucks and it is consistently rated one of the best tools for the money.
AND it’s beautiful green color goes well with my customized Dewalt table saw.
The Process of Designing and Initial Concept.
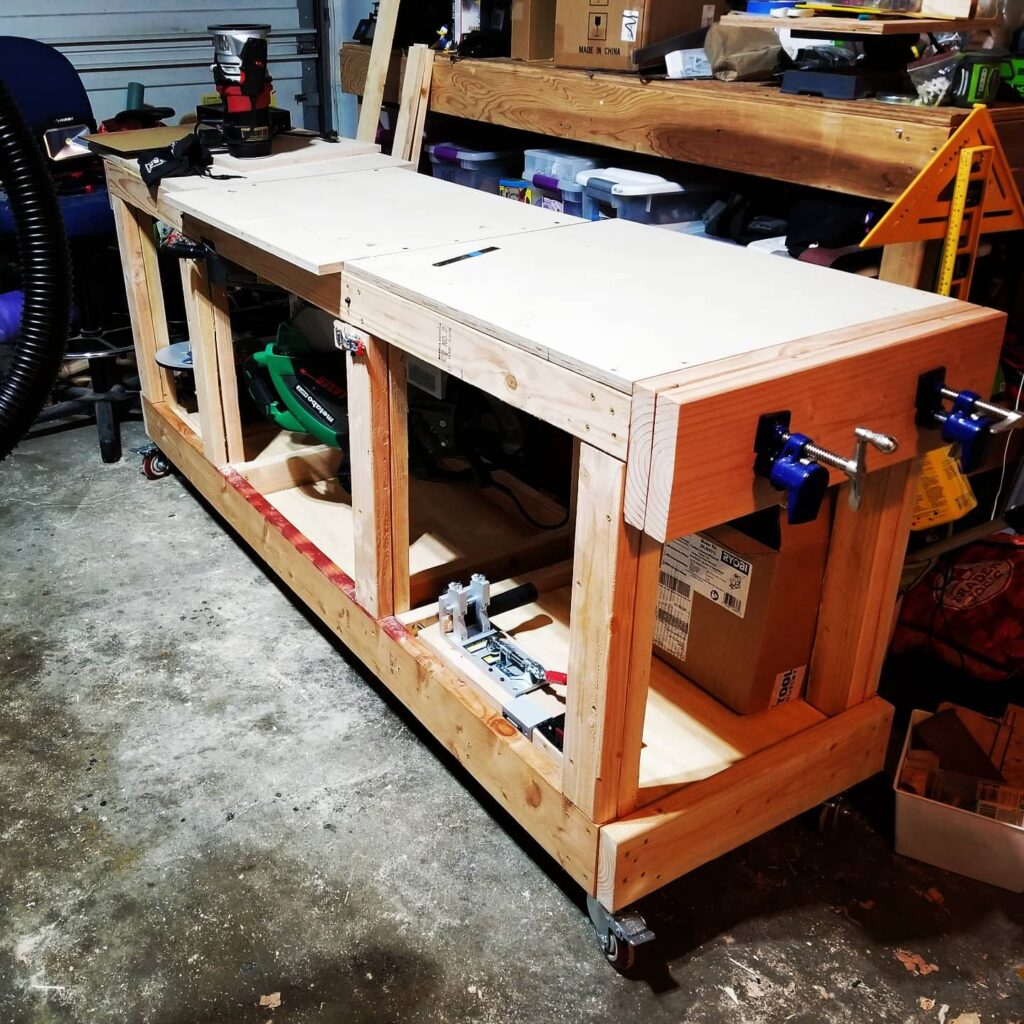
I watched a metric ton of YouTube videos about the ins and outs of a Miter Saw Stand,
I loved the idea of making the rolling cart for it like a really stable tall long workbench for use with medium and large scale projects with or without the saw engaged.
I used mostly 2X4 and 2X6 pine lumber and I got some really nice birch and maple veneer plywood cut-offs at a local hardwood store. MacBeath in Berkeley California. Over all the thing was going to be fun because I would incorporate a cheapo pipe clap vise at one end and a built in handle at the other with enough space underneath for tool and accessory storage, and maybe an incorporated router table down the road.
The main pillars are 4X4’s made from two joined 2X4’s.
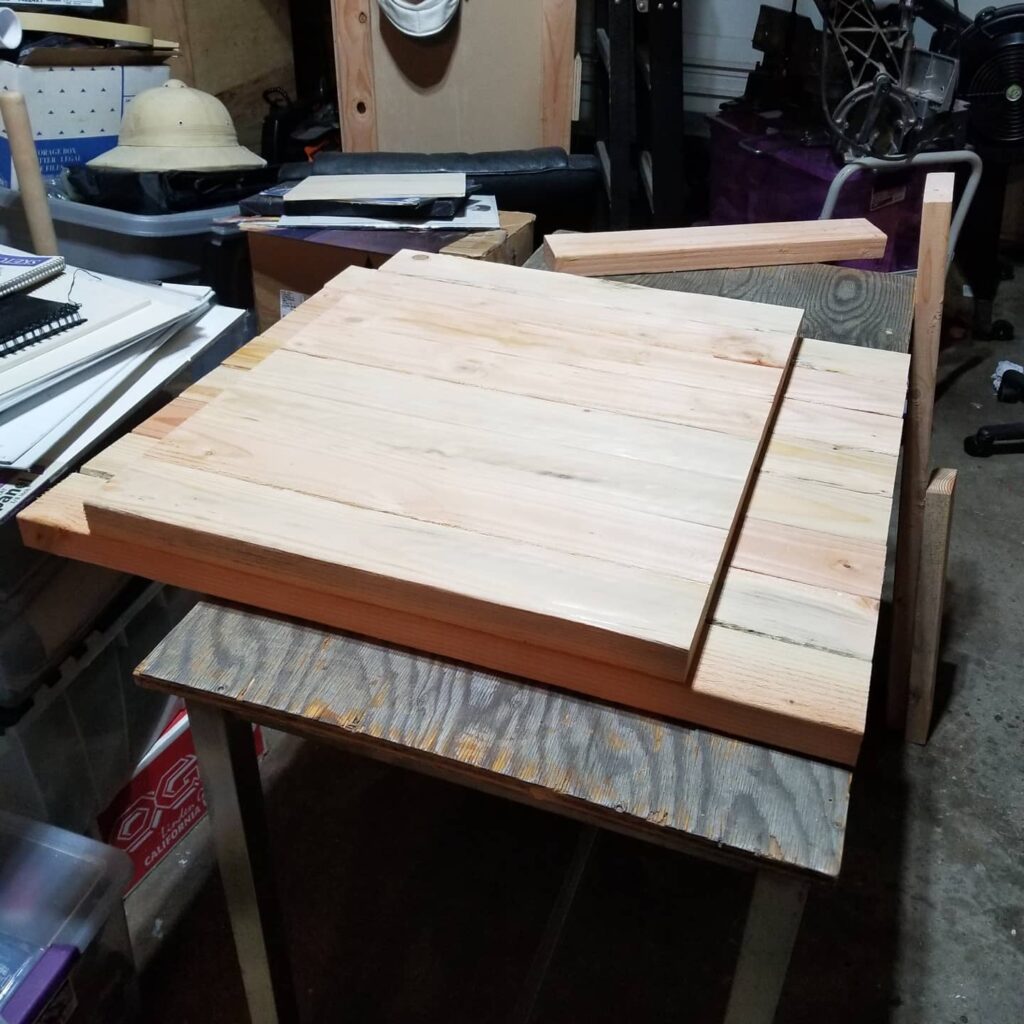
The central Miter Saw Stand bit rides on bar stock with bearings to make it swing smoothly.
The whole thing rides on 8 large lockable casters.
It is heavy but I can roll it out of the garage on nice days in case I want to use it in a far flung part of the backyard, or just to take the airs.
The Completed Monstrosity
It holds me in good stead so far.
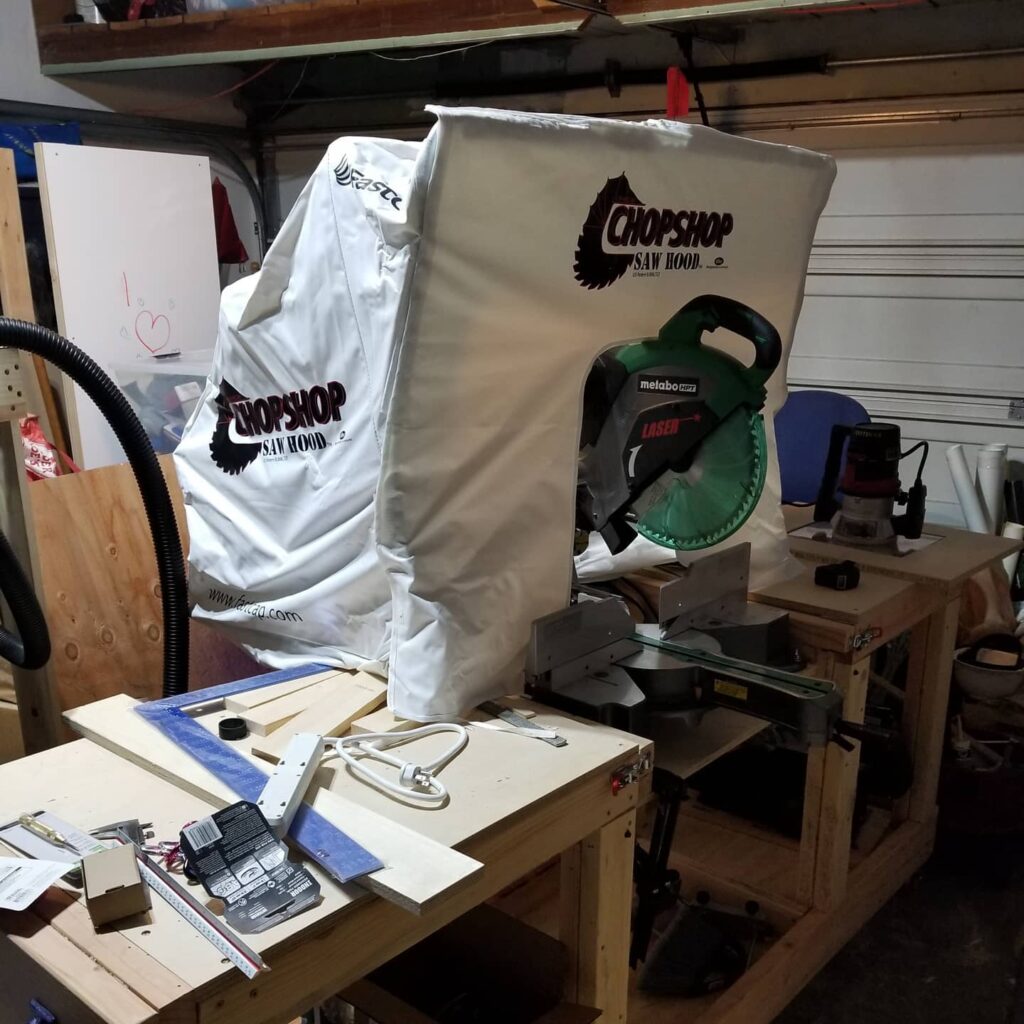
I have two different kind of dust suppression hoods. One is store bought, the Chopshop Saw Hood from Fast Cap…
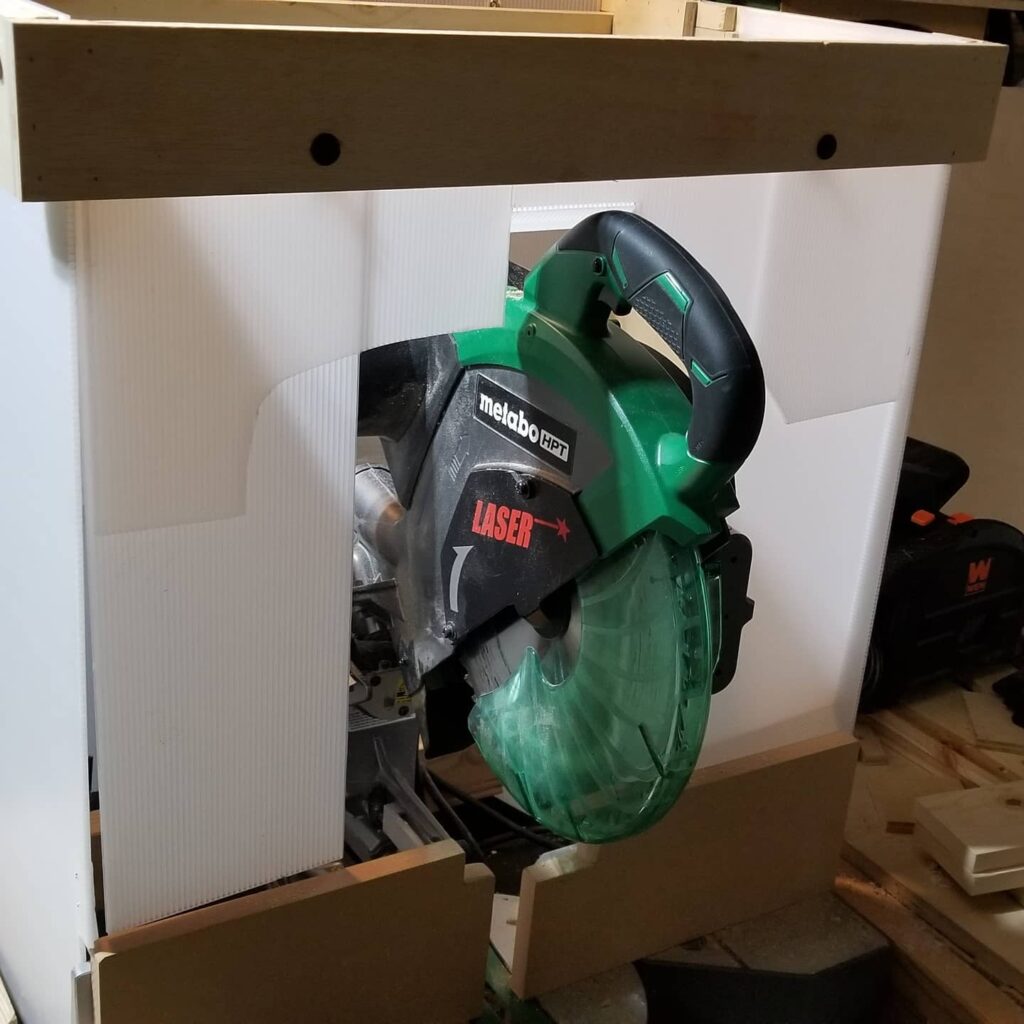
….and the other is also something that can be assembled and disassembled and stored that I contrived and will be described in detail in a later post.

I use adjustable lever handle clamp hasps to secure the saw in stored and deployed modes.
A physical beam across the back of the miter saw stand space creates a mechanical block from the whole saw spinning in a full barrel roll.
As with many projects on this blog, as I find my plans I will post them here in all their graph-papery goodness.
I walk my talk on this one, because I did borrow a chop saw to play with it on the way to buying this green thing.


